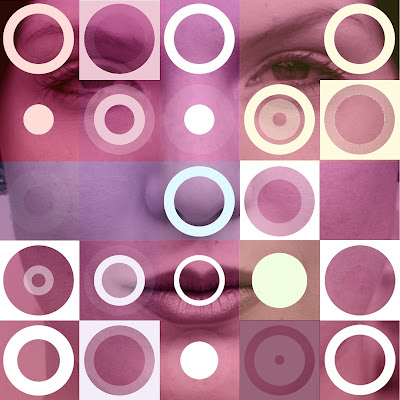
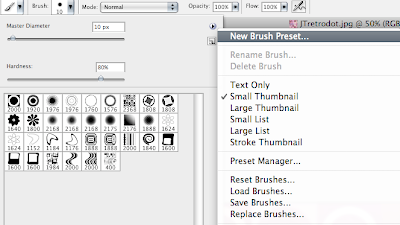
 Another idea for the October Monthly Special—I made this retro dot art by using a free brush set that my son Max showed me. In the not-too-distant future I will do an entire month about brushes. But for now, if you want to experiment with brushes, here's the quickie explanation: Download a brush set. Drag it into Photoshop-->Presets-->Brushes. Select the brush tool when in Photoshop and click on the little arrow in the brush pull-down menu (see image below) and select "load brushes," at which point you can locate and "replace current brush set" with the new one (and yes, many brush sets—including the one I used here— work in Elements).
I won't do an entire tutorial on this, but here's a basic outline of how I got this look:
- I selected the brush from the set in the link above and put in on its maximum size before stamping it on the blank document.
- I found a photo that had the right feel for this kind of treatment (it happens to be of my sister-in-law), converted it to black and white, and then added a toned gradient.
- Using Select-->Color Range, I selected the circle and square pattern so I could copy it (minus the white) onto its own layer.
- I brought the photo into my "dot" document, resized it as needed, and used the same clipping mask technique you saw in this month's special to make the photo come through.
- Finally, on a new layer I selected some rectangular areas, filled them with various colors, and then lowered the opacity of that layer to create an overlay effect.

No comments:
Post a Comment