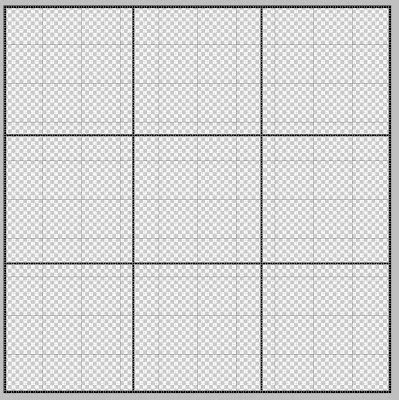
Here's how (the photo below is a 10x10 with thin 1/16th inch grid lines like the one I posted of Lucas and Eva, but you can apply the principles for creative variations):

1. Open a 10x10 320 dpi new document as explained in the June grid special.
2. Use Command "J" to make a duplicate layer (this is the layer you'll use to make your grid lines).
3. Use the marquee tool (M) to select the grid lines (just click and drag until you get the selection you want). You'll have to figure out where the lines go (don't forget the outside edges) and select them and then use the paint bucket (K or G--see above) to fill with the color of your choice (you can choose the color, btw, by clicking inside the "set foreground color" box at the bottom left of your tools--experiment with it, it's simple) by pouring the paint into your selection. If you accidentally pour the paint outside the selection, there's always "undo."
4. Repeat the process until you've got your painted grid layer--OR--to be even more efficient, you can use "shift" after each marquee selection and to keep adding new selections until you get your whole grid and then pour the color in all at once. If you click to make a new selection without holding "shift," you'll have to start over with your selections (oops). But it does feel better to pour that paint in all at once, so try it.
5. Now, oh grid experts, all you need to do is find the photo you want to use, crop it to 10x10 at the 320 dpi, and use the move tool (v) to drag it into your grid template.
6. Drag the grid layer above the photo layer, and there you have it--fake cropping.
7. Before you flatten and save your final product, why not do a separate "save as" that keeps the layered version so you can reuse the grid in the future?
I hope this makes sense without a lot of screen shots. Try it out.
And for those who are new to the TOP Monthly Special, please click on "June: The Grid" under "Participate in the Monthly Special" in the side bar at the right to see this month's project and links to the results so far. The month is only half over. It's not too late to give it a try.
Finally, if you don't have Photoshop or PS Elements and you want to participate, stick around. Next month's challenge does not require any special software.

Excellent information sharing with us, yes today such type of application very popular. photo editing software
ReplyDelete